3-Ingredient Easy Biscoff Ice Cream Cake recipe
This 3-ingredient Easy Biscoff Ice Cream Cake recipe is one of those new recipes you’ll make once and keep forever. It’s simple, no baking required, and perfect even if it’s your first time making an ice cream cake at home.
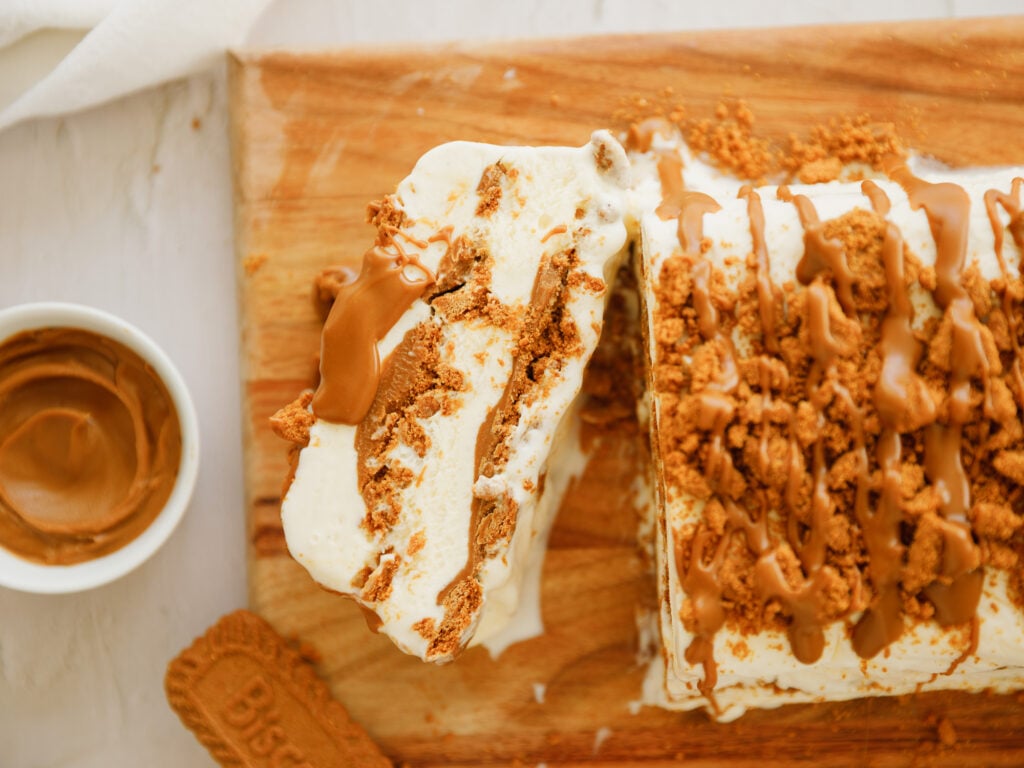
If you love Biscoff cookies and that smooth Biscoff spread flavor, this one’s for you. The layers of vanilla ice cream, cookie crumbs, and cookie butter freeze into a sliceable cake that looks impressive but is honestly so easy.
You don’t need special tools. Just a loaf pan, a large bowl, and some plastic wrap. I’ll walk you through it step by step so you feel completely confident.
Ingredients
This recipe calls for simple ingredients you can find at any grocery store. Each one plays an important role in building that creamy, layered Biscoff ice cream cake.
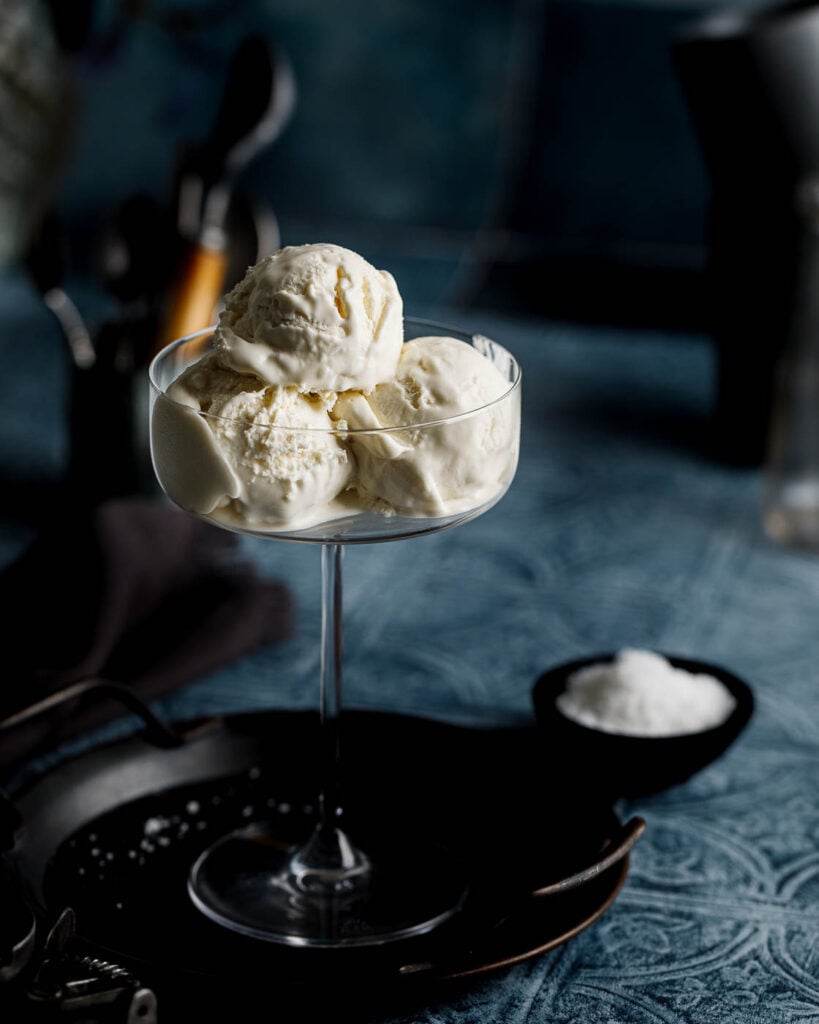
- Vanilla ice cream: This is the base of the cake. It creates structure once frozen and balances the rich Biscoff spread flavor. Let it soften slightly so it spreads easily.
- Biscoff cookies: These add crunch and that classic caramelized flavor. Crushing them into cookie crumbs and small chunks gives the best texture in every bite.
- Biscoff cookie butter: Also called cookie butter, this melts into soft ribbons between the layers and ties everything together with deep Biscoff flavor.
Take a look at the recipe card at the bottom of this post for the full recipe.

Add-ons & Substitutions
You can easily adjust this Biscoff ice cream cake depending on what you have.
- Swap vanilla ice cream for chocolate or caramel ice cream.
- Add a thin layer of whipped topping between layers for extra creaminess.
- Stir a few chocolate chips into the cookie crumbs for texture.
- Drizzle extra melted cookie butter on top before serving.
- Use a different cookie if you can’t find Biscoff cookies, though the flavor will change.
How to Make
Start by lining a 9×5-inch loaf pan with two layers of plastic wrap. Place them in opposite directions and press them firmly into the corners. Leave plenty hanging over the sides. This makes it easy to lift the Biscoff ice cream cake out later without breaking it.


Crush the Biscoff cookies into small cookie crumbs and chunks. You can place them in a large bowl and crush with a rolling pin, or use a food processor. You want a mix of fine crumbs and small pieces for texture.
Let the vanilla ice cream sit at room temperature for about 10 to 15 minutes. It should be soft enough to spread, but not melted or runny. If it’s too hard, it will tear the layers. If it’s too melted, the layers will mix together.
Spread about 2 cups of softened ice cream evenly into the bottom of the prepared pan. Smooth the top with a spoon or spatula so it’s level. Sprinkle one-third of the cookie crumbs evenly over the ice cream.


Warm the Biscoff spread in the microwave for 10 to 15 seconds, just until it loosens and becomes pourable. Don’t overheat it. Drizzle about one-quarter cup over the cookie layer in thin ribbons.
Repeat the layering with more vanilla ice cream, more Biscoff cookies, and more cookie butter. Press gently with the back of a spoon to keep the layers even.


Finish with the last layer of ice cream, the remaining cookie crumbs, and a final drizzle of warmed Biscoff spread. Fold the plastic wrap over the top so the cake is completely covered.
Place the pan in the freezer for at least 6 hours. Overnight is even better. The cake should feel fully firm when pressed in the center.
When you’re ready to serve, lift the cake out using the plastic wrap overhang. Peel it away and let the cake sit at room temperature for about 5 minutes. This makes slicing easier and cleaner.
Expert Tips
A few small details make this Biscoff ice cream cake turn out perfectly every time.
- Make sure the ice cream is softened evenly, not melted around the edges.
- Press each layer gently so there are no big air pockets.
- Keep the cookie crumbs evenly spread so every slice has crunch.
- If your kitchen is warm, work quickly so the layers don’t melt.
- Use a sharp knife dipped in warm water for cleaner slices.
- Freeze the cake in the coldest part of your freezer for best results.
- If it’s your first time, assemble the layers calmly and don’t rush. It’s very forgiving.

Frequently Asked Questions
How do I store Biscoff ice cream cake?
Keep it tightly wrapped in plastic wrap or in an airtight container in the freezer. It stays fresh for up to one week.
Can I make this Biscoff ice cream cake ahead of time?
Yes. It’s actually better made ahead. Freeze it overnight so the layers are fully set before serving.
Can I refreeze leftovers?
Yes, as long as it hasn’t sat out too long. Wrap it tightly again and place it back in the freezer.
How long should it sit out before slicing?
About 5 minutes at room temperature is usually enough. You want it slightly softened but still firm.
Can I double this recipe?
Yes. Use a larger pan and extend the freezing time. Make sure the center feels fully firm before slicing.
Is this recipe good for beginners?
Absolutely. Even if it’s your first time making a Biscoff ice cream cake, the layering process is simple and very forgiving.
Take a look at the links below for Ice Cream Recipes, or follow this link for some Frozen dessert recipes.


Tag me on Instagram or Pinterest so I can see all your amazing creations!
And if you make this 3-ingredient Easy Biscoff Ice Cream Cake recipe, please be sure to give it a star rating and leave a comment below!

3-ingredient Easy Biscoff Ice Cream Cake recipe
Equipment
- 1 9×5 inch loaf pan
Ingredients
- 6 cups vanilla ice cream softened
- 250 grams Biscoff cookies crushed into small chunks
- 3/4 cup Biscoff cookie butter
Instructions
- Line a 9×5-inch loaf pan with two layers of plastic wrap, placing them perpendicular to each other and pressing them firmly into the corners. Leave plenty of overhang on all sides so the cake can be lifted out easily once frozen.
- Crush the Biscoff cookies into small crumbs and chunks using a rolling pin or a food processor. Set aside.250 grams Biscoff cookies
- Spread 2 cups of the softened ice cream evenly into the bottom of the prepared loaf pan. Sprinkle about one-third of the crushed cookies over the ice cream.6 cups vanilla ice cream
- Warm the Biscoff cookie butter in the microwave for 10 to 15 seconds, just until pourable, and drizzle one-quarter cup evenly over the cookie layer.3/4 cup Biscoff cookie butter
- Repeat the layering process with another 2 cups of ice cream, another third of the crushed cookies, and another quarter cup of warmed cookie butter.
- Spread the remaining 2 cups of ice cream over the top. Finish with the remaining crushed cookies and the final quarter cup drizzle of warmed Biscoff cookie butter.
- Fold the plastic wrap over the top to cover the cake completely and freeze for at least 6 hours, or until fully firm.
- When ready to serve, lift the cake out of the pan using the plastic wrap overhang and peel it away. Let the cake sit at room temperature for about 5 minutes before slicing with a sharp knife.Rephrase and expand slightly so new bakers feel confident.
Notes
Expert Tips
A few small details make this biscoff ice cream cake turn out perfectly every time.- Make sure the ice cream is softened evenly, not melted around the edges.
- Press each layer gently so there are no big air pockets.
- Keep the cookie crumbs evenly spread so every slice has crunch.
- If your kitchen is warm, work quickly so the layers don’t melt.
- Use a sharp knife dipped in warm water for cleaner slices.
- Freeze the cake in the coldest part of your freezer for best results.
- If it’s your first time, assemble the layers calmly and don’t rush. It’s very forgiving.


